Showing posts with label home design. Show all posts

Biggest Build Yet!

Nope, we didn't build a house.  Or even a play house. We built a table!  I know, I know, you have probably seen a MILLION table 'how to's' in just the past week alone.  And honestly, that's why we thought we could do it.  After all, according to Pinterest - anyone can build a table, right?  All you need is screws, a drill and some wood...right?  WRONG!  Ok, so maybe McGyver can build a table with less than that, but we quickly learned that even though we thought we had all the tools needed, we actually needed more (yay! more tools!!!)(not being sarcastic, I do love my tools!).  Perfect example, I have asked for (and received) a table saw, wet/dry vac, nail gun, and a composter - ok so a composter isn't a tool necessarily, but still!)

Ok, so back to why I am writing this post.  The table.

As long as I've lived on my own, I've used an antique table that was given to me by my aunt.  It wasn't a family piece, but it was still special and I love having something different than what I could find at a big box store.  It was always big enough for me and a few friends.  JD and I even used it after we got married.  All in all, I'd say I've had that table for about twelve years.

Here she is in my first house...not a great pic...unless I wanted a pic of my dog licking her butt...
We were still unpacking {current casa}
another stellar photo.....


and the photos of when I listed her for sale
Apparently I don't believe in using my shmancy-fancy camera to take photos....

Anyways.

After we remodeled our kitchen and opened up a wall, our dining room felt even larger than it was and the small antique table just didn't quite fit any more. And like any other person, we took to Pinterest for ideas.

We loved the farmhouse table look - I know so original these days.

I saw tons of plans on how to build various kinds, but none of them looked like what I had in my mind.  I finally found a photo of the perfect table, but sadly it was just a photo with no directions.  We looked around at several stores and all of the tables we liked were at least $600! Just the table, no chairs!! And those tables were still not the 'perfect' vision I had in my head.

ah, the 'almost' perfect table.  

Backstory time.  Once a long time ago (before Pinterest- circa 2010), I wanted to build a window seat and didn't have any plans. So, I made my own and with JD's help, we built the window seat and I have to say it turned out pretty well.  So well that two different owners of a past house of ours, still have it in their bedroom.  OR maybe they just can't find the right replacement.....anyways, it has survived 3 families and 7 years.  Not too shabby.

designed by me! Built by JD and me!


Fast forward to present day (ok, not present day, but March of last year - yes, I am a little late on this one....).  I kept going back to that photo of the table that I realllllyyyy loved that had no directions...I did what I did back in 2010 and drew up some plans on how to build the table.  Not the prettiest sketch, but it gave us a rough idea of what materials we would need to build our dream table.

I think we got the point...
And so we bought the materials, borrowed a Kreg Jig and built ourselves a table.  Start to finish, I think it took us between one and two weeks to finish.

experimenting with the angles

LOVE THE KREG JIG
Once we had all of the base parts cut and sanded, we stained the wood with Early American wood stain from Minwax.  A few lessons learned, don't use plain wood putty, it won't take the stain the same as the wood.  Try to find a wood putty that is already tinted and that closely matches the stain color you are using.


After the base stain color had dried, I rubbed some random areas with vaseline (where it would normally show wear and tear), then we used Valspar Chalky Finish paint in Kid Gloves and painted the entire base.  Once the paint dried, I sanded the areas to reveal the stain.  The paint came off super easy in the areas where the vaseline was, almost too well and I had to go back and repaint a few of the larger areas...my table looked like a giraffe! Not a good look.

I might have been a bit messy...
Now time for the top of the table.  We used four 2x12's.  We tried to distress aka beat them up as much as we could and then used the same stain as we did for the table base.  After a couple of layers of the stain, we used a clear coat of prolycrylic (Minwax water based in clear satin) to seal the wood.  You know, to keep it looking old....

No horrible smell *BONUS*
Now time to assemble the top.  We made a big mistake here.  Before we distressed the wood, we should have run the planks through my table saw to get them nice and straight....DO NOT SKIP THIS, IT WILL SAVE YOU MAJOR HEADACHES.  But since we did skip this, we had the headaches.

We thought we had purchased the straightest planks of wood from the store, and we probably did...but once we tried to join them together we found out we were wrong...big time wrong....Instead of going back and redoing our table top, we fought with the planks until we got them right.  This fight involved the Kreg Jig (we have since bought one, love it!) and strapping the wood planks together and using all the brute strength we could muster.


we had to use some extra wood to screw all of the top planks onto


Once the top was complete, we attached the top to the base, and voila! We had ourselves a table! Almost...

We adjusted the length using the 2x6 under the table


the non-painted stripe is where the table legs should have been - easy to fix - thank goodness

Ok, now we have a table!


We still need a longer bench for one side, but other than that, it has held up pretty well.  Meaning, it hasn't fallen apart on us in almost a year..


We do have new chairs that replaced the black ones.  They were Target purchases - four for $100! The fact that they were so cheap, might explain why I can't find them anymore to post a link here....but here are some similar ones. And the cloth ones on the ends were an Overstock purchase.  We got the pair for $75, they were in the 'AS IS' section - we still haven't figured out what was wrong with them.

We love our table, we love the way it fits in the dining room, and we especially love the fact that we built it ourselves.


comparing the new chair with the old chair

suggestions on a longer bench???


Overstock.com chair


The Target chair


So there you have it, our biggest build yet.  What's next?  You never know in a house as old as this one!

Oh - sorry for any grammatical errors...my proof reader is on a 15 hour flight to S. Korea....and as a UGA Alumni, he's extremely upset he's missing the college football National Championship.  So in his honor ~ GO DAWGS!!!!!

AND HAPPY NEW YEAR!

Are We Crazy?

This is going to be a random one folks.  And yes, I realize it's been a bit since I've posted, but here goes.

JD is upstair sleeping and I've been awake since 4:30 am....thinking about houses.  A particular house in fact.

Before I get into the details of that house, let me tell you about our current home.  It is a two story, 1908 Queen Ann Victorian Cottage (or so I'm told).  We have 3600 square feet of living space,  downstairs we have a large, mostly open floor plan with a {recently} remodeled kitchen - with a side deck and exterior entry, a library, a sunroom/playroom, two bedrooms that share a Jack-n-Jill style bathroom, a half bath in our hallway, and a mud/doggie room.  We also have a walk in butlers pantry area, all wood and tile floors, high ceilings and original moldings, pocket doors and trim work.  The upstairs has two more bedrooms, one of which is the master suite.  The master has a large bathroom with a shower, double sink and whirlpool tub.  Our room also has a walk in closet and a small sitting area with a separate door.  The other room is on the small side, but our girls currently share it with a small, modified bunk bed.  They love sharing, for now, but I have a feeling soon they will want their own spaces.

Outside we have an amazing wrap around front porch with tons of room (porch swing, large patio set, and two tables for eating), the front yard itself is nice and flat with great grass.  The backyard has alley access and a 2 car garage attached to the house, but with only exterior entry.  The yard is also large and flat, we have a gazebo with lounge chairs, a fire pit and a even a garden area with three really large planters.  Want to see photos of our current home: kitchen, and the rest of the house.

*Sigh*

It all sounds so amazing, so am I crazy for wanting a smaller house?????  We have three dogs, 2 girls (one is here every other weekend) and family that comes often to visit.  But I still want that smaller house.  Part of me thinks having a smaller home will mean less to clean, less to maintain, less projects, and more time spent doing things as a family.  That sounds great too, right??

Well, to make matters even worse, I've found quite possibly my dream home.  (I thought our current home was our dream home too....)

It is the most adorable little cottage/farmhouse in an adjoining neighborhood that is still in our current school district.  The house has three bedrooms, two bathrooms, a small {gorgeous} kitchen, nice size living room and a basement.  Two of the bedrooms are upstairs and share a hall bath, the third bedroom is currently being used as a playroom and is a bit on the small side, but it is downstairs and has a full bath nearby.  This house has the best curb appeal.  And it has a basement that has tons of storage and isn't all creepy at all.  And I haven't even mentioned a HUGE bonus.  There is a carriage house on the property!!!!  And it is just as large as the main house, and by large, it's really not that big, each building is 1400 square feet.  But back to the carriage house, it has a large open concept first floor and then another living area on the second floor with fireplace, two bedrooms and one shared bathroom....I'm in love.

**All of the below photos were provided by the listing agent and are not my own**

Amazing curb appeal!

Main kitchen...so cute...

Carriage house in back

Main living area with *working* fireplace!

Second floor of the carriage house

I actually did take this one.  First floor of the carriage house.


So what's the problem??? Well, we area bit spoiled by our current location.  We can walk to several restaurants, the zoo, coffee shops, and a brewery.  And more stuff is coming!  The cutest little dream house is probably a mile further away from all these things.....is it worth it?? I DONT KNOW, but I wish I did.

So am I crazy to want to go from 3600 square feet to 1400???? Am I just a house nut that the grass is alway going to be greener in the someone else's yard??? Or do we just need to suck it up and move??

And these are the things that keep up at night.  Anyone made the move from a larger, what you thought was your dream home to smaller, might could be your dream home place???

I welcome all thoughts, crazy like mine and sane too.

This Little Floor Of Mine

My next big project after the "completion" of the kitchen was the mud room, aka dog room.  My mom said I was going to an awful lot of trouble for a room just for dogs.  In retrospect, I think I agree with her...

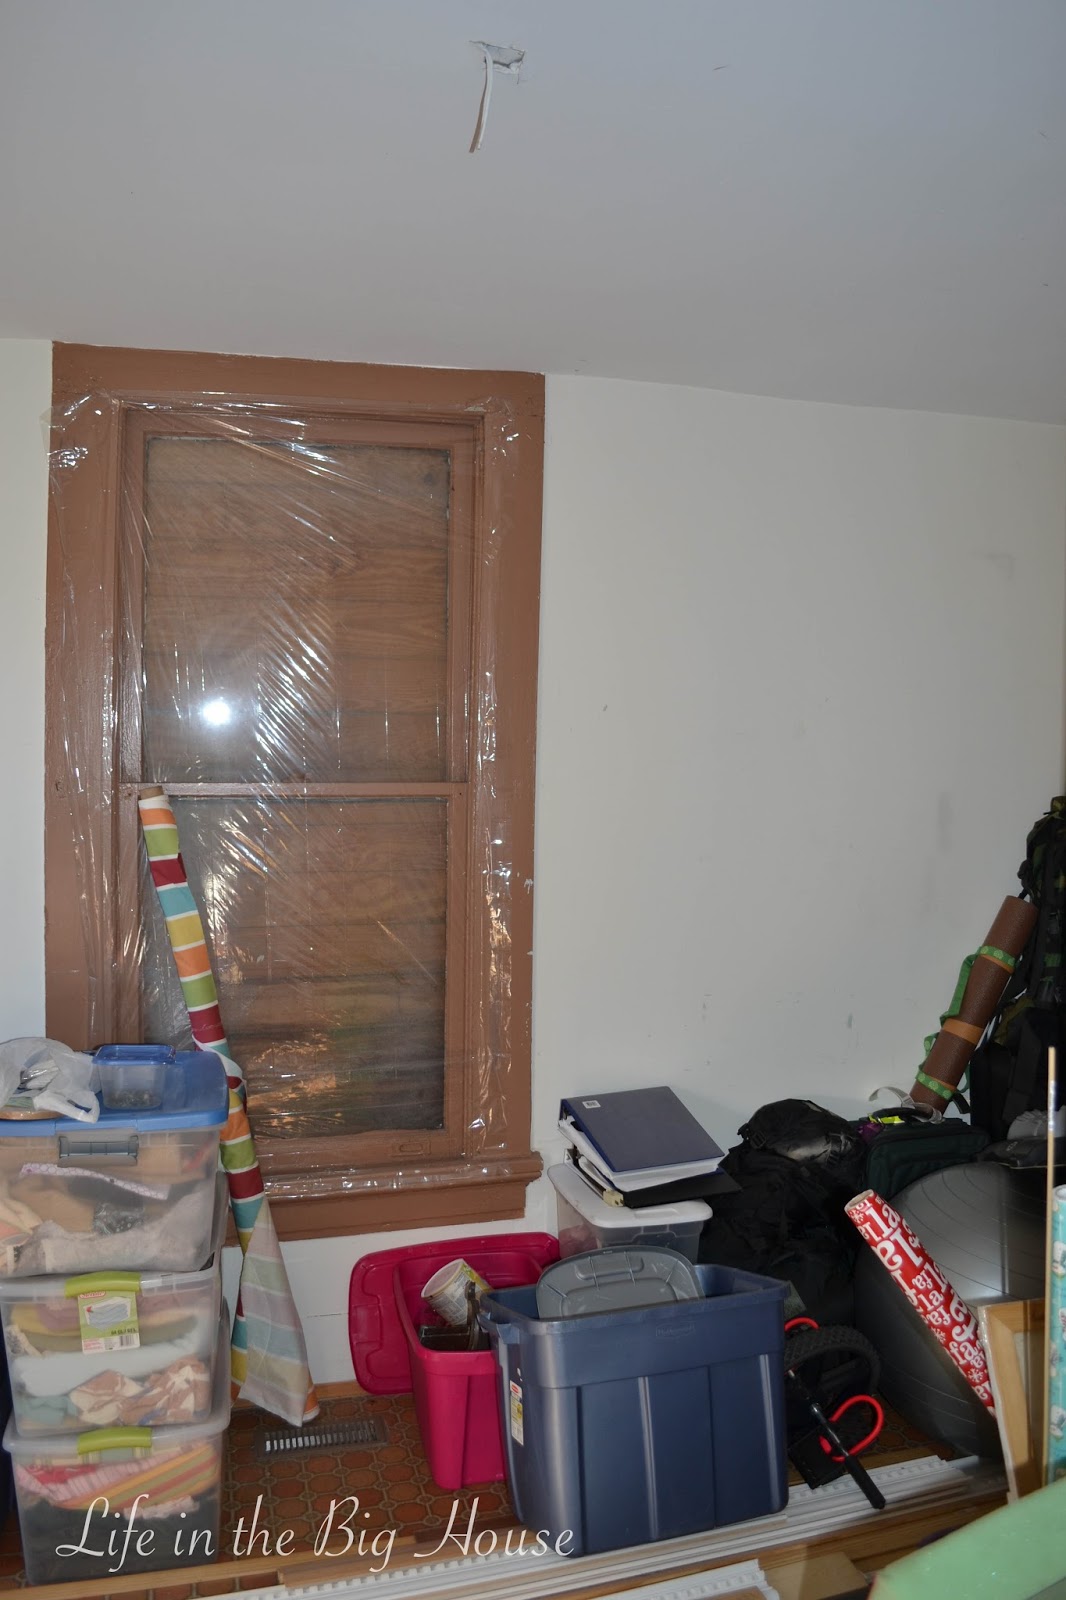
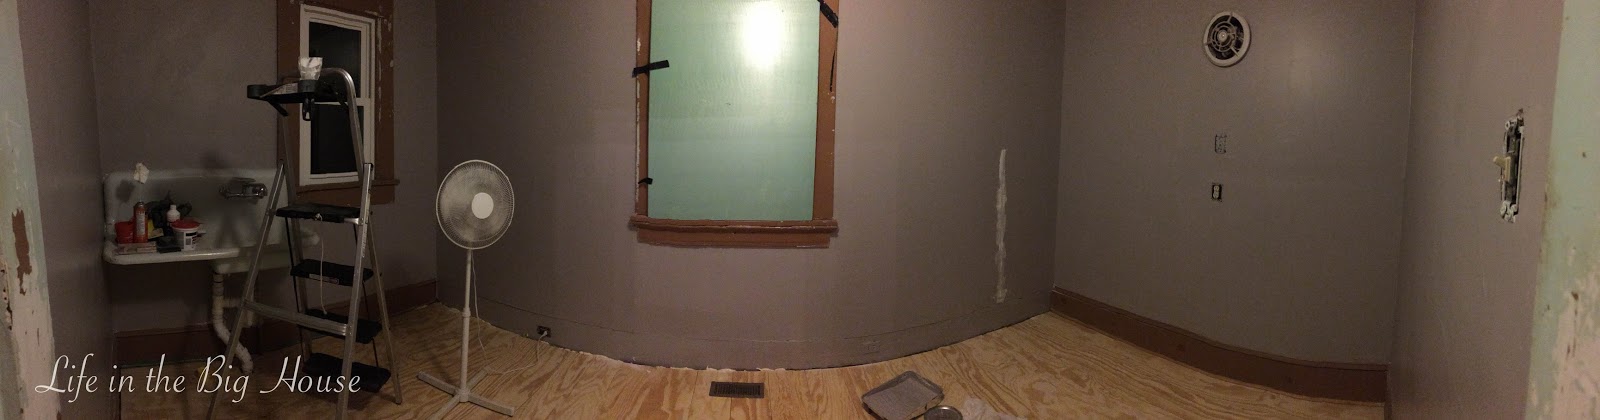
This is a smallish (8x13) room off of the back bedroom.  Kind of a an odd location, but we were told that our house was once a duplex and that might have been one side's kitchen since there is a large sink there.  The walls were a yucky off white and the trim was an even yuckier brown color.  The floor, well, the floor was a mess.  It was a brown print linoleum that was peeling in some areas and just missing in others.  The floors slope to the back corner, the walls were cracking and the sink was a  leaky mess.  I didn't want to spend much time in there, much less make our dogs spend their time in there.  So, the project began.

Isn't she lovely??

the beautiful peeling floor


Our 'junk' room

I do love a good sink
The very first thing I had to do - call the plumber!  The sink drain was in bad shape, so bad, it was split open.  And the plumbing under the house was in even worse shape, it was old clay pipes that had cracked years ago.  This was the most expensive thing I did and I still shutter a bit when I think about it.  But to have the plumber completely replace all the plumbing lines under the sink and in the crawlspace was a whopping $820....but no leaks!


that's not gonna work

this is the crawlspace directly under the mudroom

old, old, pipes


My initial plan was to paint the trim and walls, fix the sink and tile the floor.  Oh, and I forgot to mention that during our kitchen reno we had the crew put in 2 new windows for us in the mudroom and install a 'dutch' door.  Oh, second thing I forgot to mention - I planned to get this all done while the other half was away for three months.....while I'm a single parent....I wanted to renovate a room....did I mention solo??? Was I crazy? Probably, but hey, Nicole Curtis from Rehab Addict can do it, why can't I?

To Do List
1. Remove old flooring
2. Install new subfloor
3. Install tile
4. Paint trim
5. Paint walls
6. fix sink

I didn't even get passed number 1.  I spoke to my cousin (Angie - crime partner in thrifting - who also does contract work) and she thought the flooring might have asbestos and suggested I put the plywood directly on top of the linoleum.  Done.  I pulled up the old tac strips holding the linoleum down and use shims to even out the floor a more than it was.  I really wanted to tile the floor, but the tiles I wanted were out of my price range....I was crushing hard on the concrete tiles in black and white....

Source
Then again, my cousin Angie had a solution.  Paint the plywood floor...hm, I do love the look of a painted floor, but I'm too scared to actually paint real wood floors.  So why not make the plywood look like real wood floors.  Plus, if I ever did tile, I could still use the plywood as my subfloor.

Source

Off to Lowe's (or Home Depot, I don't remember), I bought 3 sheets of a higher grade plywood floor that was 1/2" thick, I made sure it was sanded already on one side since I was using it as my actual flooring.  I also had the big box lumber store cut the plywood into 6" and 8" strips for me.  Yes, I could have done this, I do have a table saw, but why when it's cheep/free for them to do it?  Big Bonus - it's easier to transport cut up too!


I brought it home and with the help of my gracious mother, we sanded the strips even more, just to take off any potential splinters.  The room was narrow enough that one strip of plywood would go from end to end and I would only have to trim it a few inches to make it fit.

Once all the plywood had been sanded and cut to size, I used my crown stapler to nail the boards down directly onto the linoleum floor.  We used a few pennies as spacers and it went relatively quick.


Once all the boards were nailed down, we decided to paint to the walls.  I used the same gray color that is most of the rest of the house.  And the trim was just your basic white trim paint.


Wall color - Sherwin Williams in Propper Gray


Once the walls and trim were done, it was time to get started on the floor.  I read a ton of 'how to's' and pinterest articles and blogs and they were all different on how they did things.  I wanted to make sure this floor was super protected since it would be the doggie room.  I didn't want a drop of water to ruin the entire floor.  So, I primed the floor with an oil based floor primer I bought at HD for $23, I'm a bad blogger, I forgot to take a picture....

Even painted/primed white, the floor looked so much better than the original nastiness.

what a 180 degree change!
It took me a few weeks to decide on what the base color would be for the floor, it also took that long for me to decide on a pattern.  Since I had originally wanted tile floor, I again wanted the tile look and the only way I thought I could achieve that was to use a stencil.  I might as well tell you that at this point JD was home from his 3 months away and it was no longer a surprise, but instead a mess....sorry babe.

I found several designs I loved and reached out to my Facebook friends for their suggestions.  I thought I had a favorite picked out and then I started to think about the logistics of making it a stencil....um, way too may intricate details.

final four
I finally found a design that I liked that looked easy enough to replicate....hahahaha

and the winner....not any of the four
I have a  Silhouette Cameo and I tried my hardest to use it to cut the design onto it's brand stencil material, but since I didn't have a good clean picture it would recognize it.  I ended up buying stencil material from Hobby Lobby, 4 sheets for $4, not a bad price.  I used an x-acto knife to make the cuts, pretty easy since I chose a much simpler design.

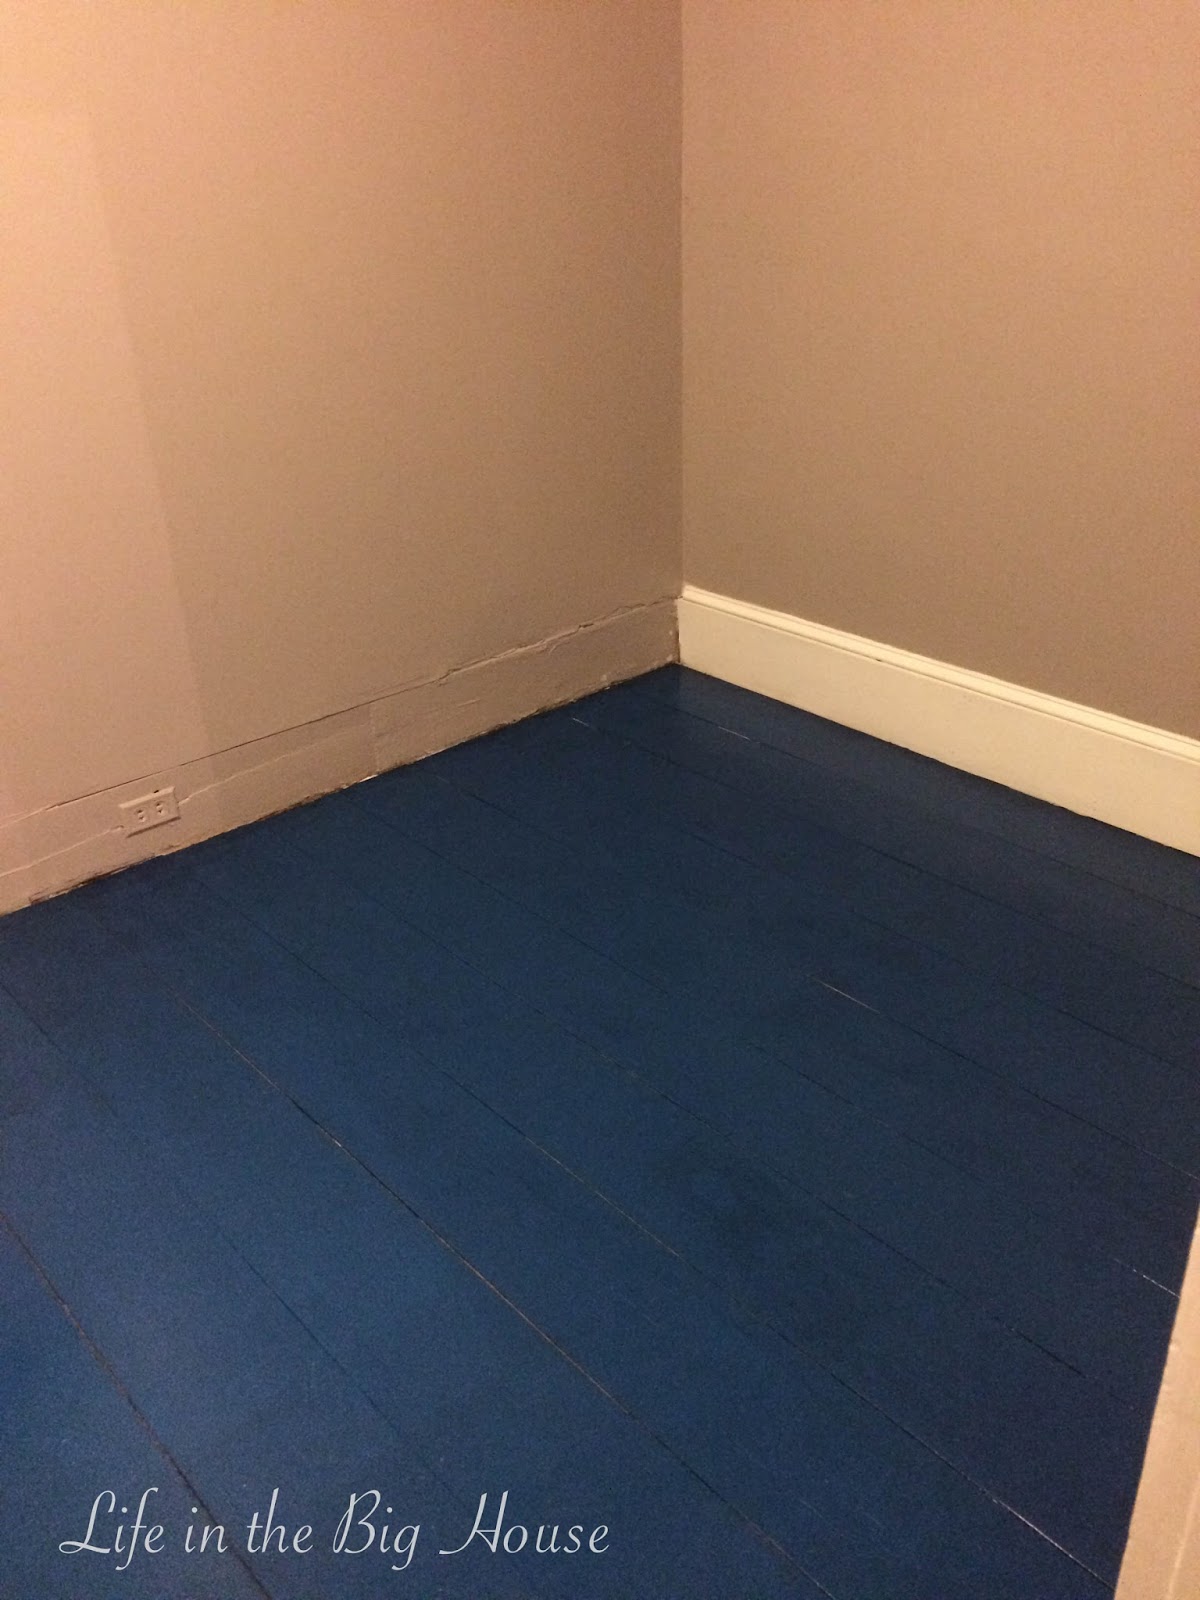
I let JD pick the base color and he chose a dark navy color that looks really good.

We used this for the both the navy and the white

Valspar in Fairmont Penthouse Mos Blue


And we decided on a white for the stencil color.

Now onto stenciling....it started off easy enough, and then I started to get paint on the backside of the stencil.  Enter baby wipes (these are amazing at cleaning wet oops-I-missed spots).  I soon realized that I had to clean off the stencil EACH and EVERY time I stenciled the design...that's when I realized this was going to take a while.  I had a large piece of foam board that I used as a make shift cleaner surface in hopes of the making the process go a bit quicker than if I were to run to the kitchen each time.  I guess it help, because 10 days, 4 stencils, 2 X-Acto knife blades, 1 package of baby wipes, and 4 stencil brushes later, it was done.


all nice and clean


not too shabby looking

Stencil color - Valspar in Woodlawn Dewkist


this look says it all...


 Once the stenciling was completed, I celebrated!!! whoohooo!! haha, I wish, next up, floor sealing.  Again, lots of research went into this as well since I was worried the previous 3 layers of paint wouldn't be enough to stand up to our 3 dogs.  

I decided to go with Rust-O-Leum's Verathane sealer for high traffic areas.  Now, they have a different one that is just for floors, but for some reason the 'high traffic' aspect of this sealer spoke to me...I don't know, maybe I was delirious after the 10 days of non-stop stenciling...


and there you have it, all done!
Three coats of sealer later and I can officially say it is finished!  Ok, maybe I'm jumping the gun a bit....I still need to do floor trim around the edges.....and fix the rusty sink....but that's another story for another day.

Oh, my apologies, JD wasn't available again to proof, so there are probably several errors...


SaveSave
 
Life in the Big House Blog Design by Ipietoon